
Explore Critical Habitat
Environmental layers
Compare a recorded site with the published Critical Habitat layer, then consult the corresponding official recovery documents.
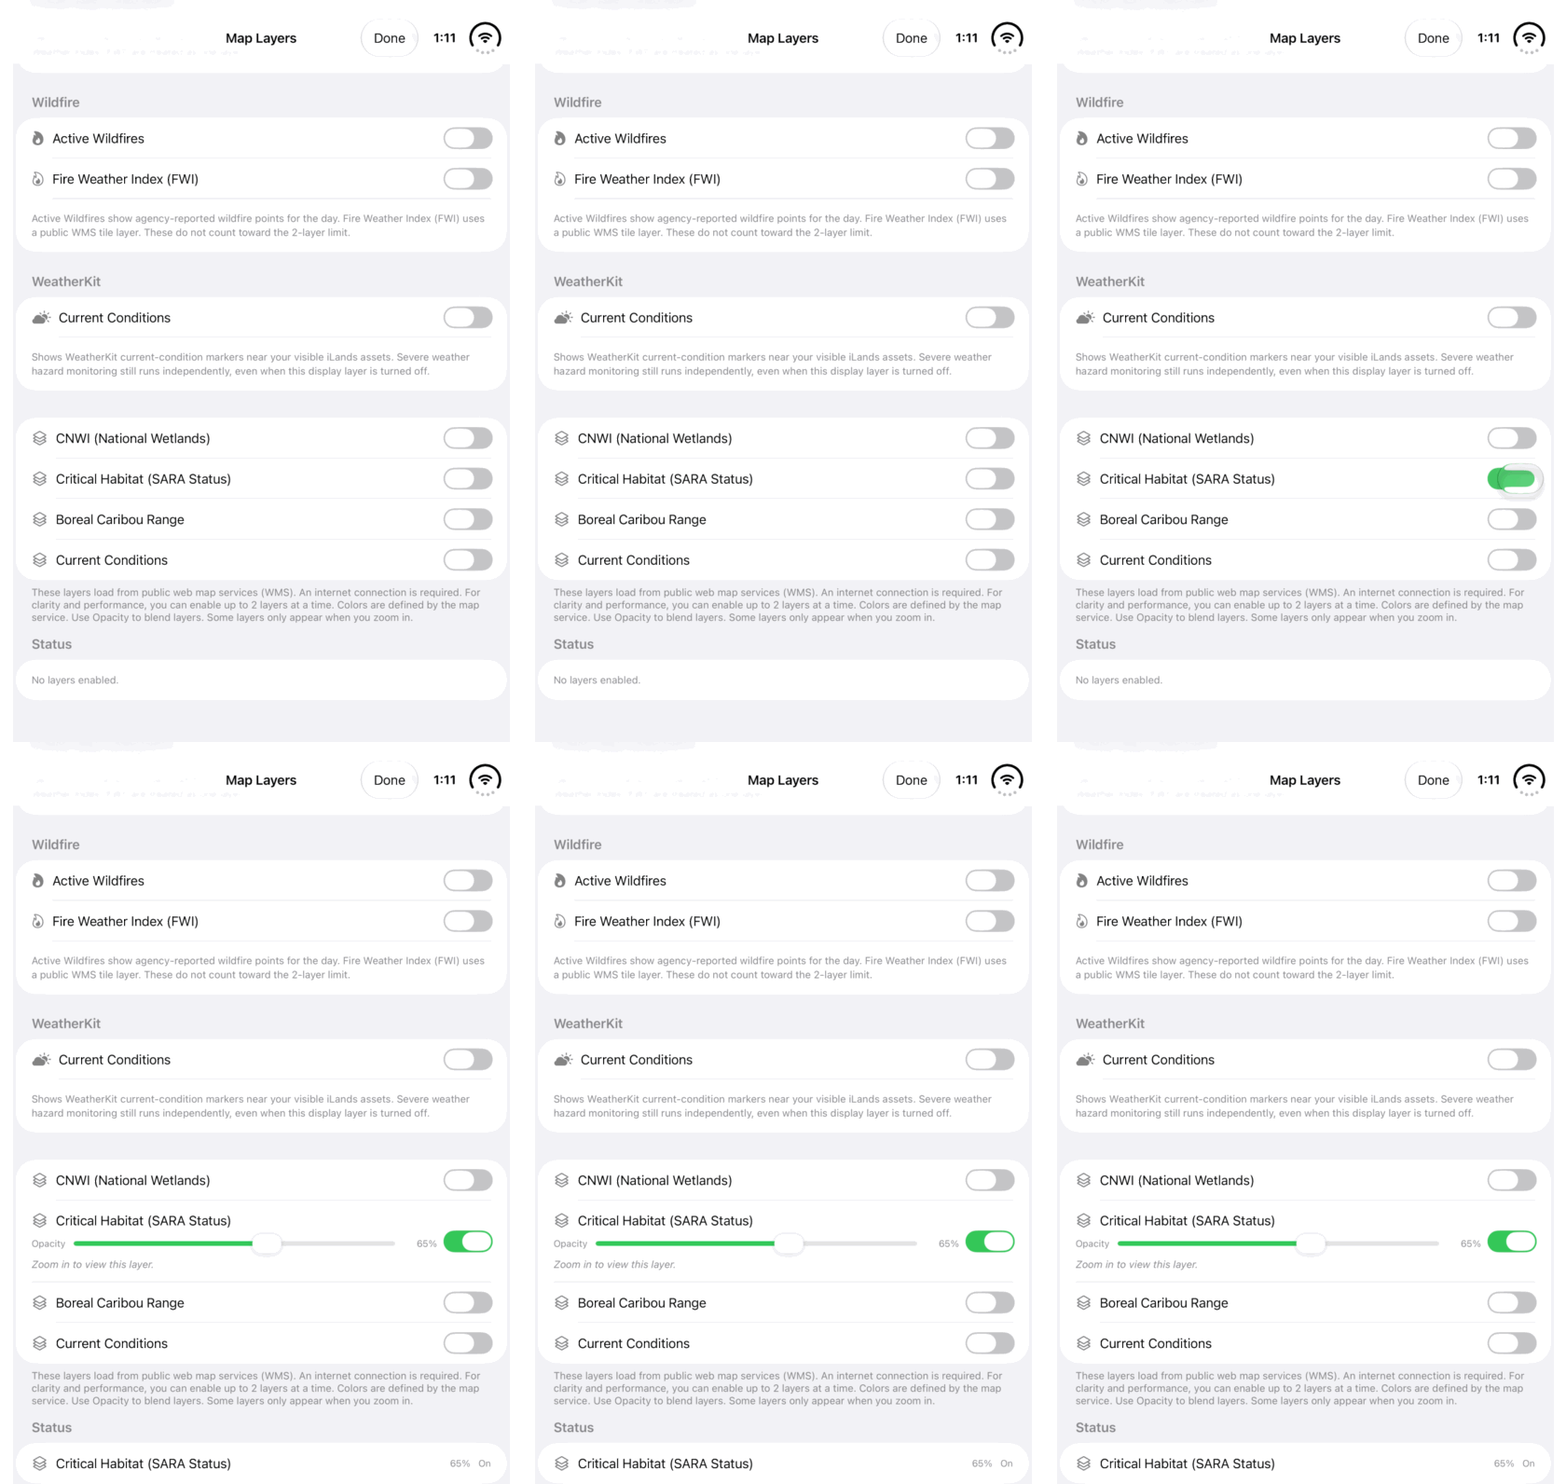
Walkthrough paused.
Follow the written steps or select Play walkthrough to watch the example.
Watch the Critical Habitat (SARA Status) layer switch. Follow the steps to explore the public map layer and read its limits.Open the looping GIF
Follow along
One step at a time.
Compare a recorded site with the published Critical Habitat layer, then consult the corresponding official recovery documents.
Open the public overlay
In Map Layers, enable Critical Habitat (SARA Status). This is the actual iLands control used for the tutorial.
Make the context readable
Zoom in where required and adjust Opacity. Compare the public layer with the relevant recorded land location without moving the record to match the overlay.
Inspect source information
Where identification is supported, open the map result and review available species, status and source fields. Keep the published map context with your notes.
Read the supporting identification
Find the relevant recovery strategy or action plan in the public registry. Check its critical-habitat description before drawing conclusions from a coloured boundary alone.